
Final Walk Through Before Closing: Protecting Your Purchase at the Last Minute
You’ve made it through the entire home buying process—offer accepted, inspections completed, appraisal done, loan approved. Closing is scheduled for tomorrow or later this week. You’re mentally moved in, planning furniture arrangements and imagining life in your new home.
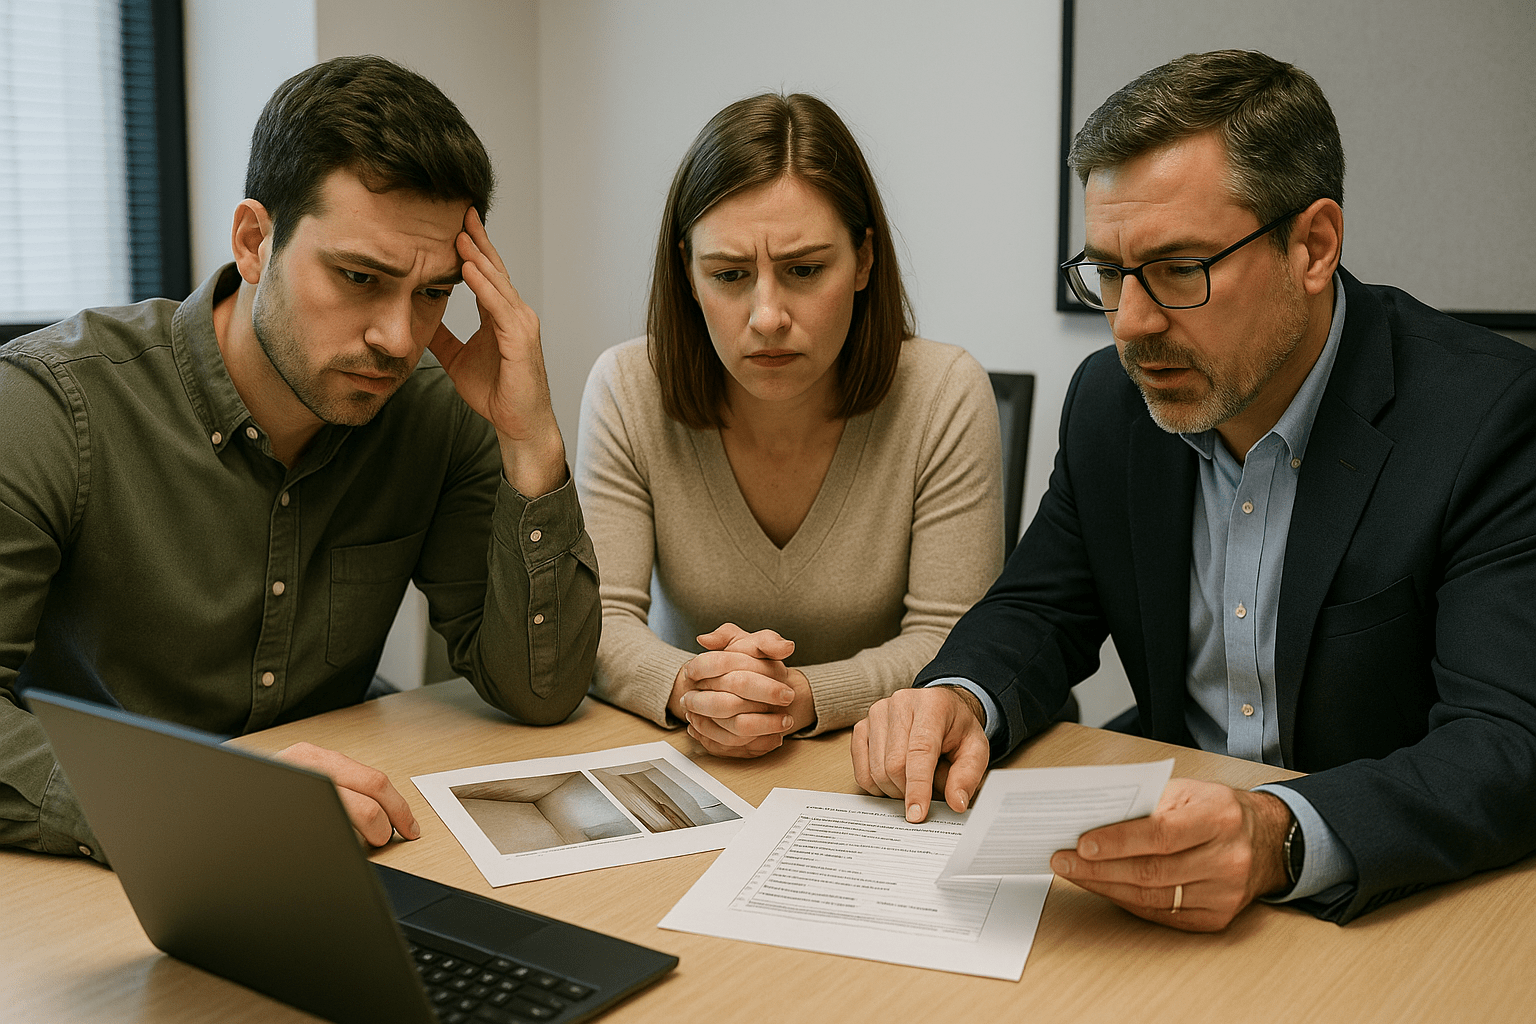
But there’s one critical step remaining that too many first-time buyers either skip or rush through: the final walkthrough. This last inspection before closing is your protection against surprises, your verification that the home you’re buying matches the home you saw weeks ago, and your final opportunity to ensure sellers fulfilled their obligations.
The final walkthrough is your last chance to confirm the property’s condition before ownership transfers. Once you sign closing documents and receive keys, the home becomes yours—along with any problems you didn’t catch during this walkthrough. No more negotiations. No more seller responsibility for issues. Everything becomes your problem and expense.
In this guide, you’ll discover:
- What the final walkthrough is and when it happens
- Complete checklist of items to verify (following CFPB homebuying guidance)
- Red flags that should delay or cancel closing
- Your rights if problems arise during walkthrough
- How to conduct an effective inspection in limited time
This isn’t about being difficult or nitpicking minor flaws. It’s about protecting the largest investment you’ve likely ever made and ensuring you receive exactly what you contracted to purchase.
Final walkthrough scheduled soon? Schedule a call to discuss what to check and how to handle any issues that arise.
What Is the Final Walkthrough and When Does It Happen?
The final walkthrough (also called final inspection or pre-closing walkthrough) is your opportunity to inspect the property within hours or days before closing to confirm it’s in the same condition as when you made your offer, with any agreed-upon repairs completed.
Purpose of the Final Walkthrough
Verify the home’s condition hasn’t changed since your initial inspections weeks or months ago. Ensure no new damage occurred, nothing was removed inappropriately, and the property remains in acceptable condition.
Confirm agreed-upon repairs are completed properly. If your purchase contract required the seller to fix specific issues discovered during inspections, the final walkthrough verifies this work was done satisfactorily.
Check that fixtures and appliances remain that were included in the sale. Sometimes sellers accidentally or intentionally remove items that should convey with the property—light fixtures, appliances, window treatments, or other items specifically listed in the contract.
Ensure the property is vacant and clean if that was part of your agreement. Verify sellers removed all personal property, debris, and trash as required.

When the Final Walkthrough Occurs
Typical timing is within 24 hours before closing, though contracts sometimes specify different timeframes. The closer to closing, the better—less time for new issues to develop after your walkthrough.
Some buyers prefer morning-of-closing walkthroughs when possible, providing the absolute latest inspection before signing documents. However, this tight timing creates challenges if you discover problems requiring resolution before closing.
Coordinate timing with your agent, the seller’s agent, and closing schedules. You need sufficient access time for thorough inspection while leaving enough buffer to address any issues discovered.
What Should You Check During Your Final Walkthrough?
Bring a detailed checklist and systematically examine every area. Don’t rely on memory or assume everything is fine. Take your time—this is your last opportunity to catch problems before they become your responsibility.
Overall Property Condition
Walk through every room carefully, looking for any damage that wasn’t present during previous visits. Check walls, floors, ceilings for new damage from moving, repairs, or other activities.
Look for water damage or stains that might indicate leaks developed since your inspection. Check ceilings, walls around plumbing, under sinks, and in basements for any signs of water intrusion.
Verify there’s no evidence of pest activity that wasn’t present during inspections. While you won’t repeat the full pest inspection, look for obvious signs of problems.
Confirm the property is broom-clean if required by your contract. Sellers should remove all personal belongings, trash, and debris unless you specifically negotiated different terms.
Systems and Appliances
Test every appliance included in the sale:
- Turn on stove burners and oven to verify operation
- Run the dishwasher through a cycle if time permits, or at least ensure it turns on
- Check refrigerator cooling and ice maker function
- Run the garbage disposal
- Test washer and dryer if included
- Verify microwave, range hood, and any other appliances work
Test HVAC systems:
- Turn on heating system and verify warm air flows from vents
- Switch to cooling mode and confirm cold air
- Listen for unusual noises suggesting problems
- Check that thermostats respond appropriately
Run plumbing fixtures:
- Turn on every faucet checking for leaks and proper water pressure
- Flush all toilets ensuring proper operation
- Run showers and tubs verifying drainage
- Check under sinks for any leaks when water runs
Test electrical systems:
- Flip every light switch confirming lights work
- Test multiple outlets in each room with a small device or outlet tester
- Verify GFCI outlets in bathrooms and kitchens function properly
- Check that circuit breakers are properly labeled

Agreed-Upon Repairs
Verify every repair listed in your contract was completed:
- Review your inspection repair addendum or amendment listing required work
- Visually inspect each repair location confirming work was done
- If possible, test repaired systems (fixed HVAC, replaced water heater, repaired plumbing, etc.)
- Look for signs that repairs were done properly, not just covered up
Request documentation for major repairs like HVAC service, roof work, plumbing repairs, electrical work. Licensed contractors should provide receipts and warranties.
Don’t accept “good enough” repairs. If the contract specified repairs and they’re incomplete or done improperly, address this before closing. Once you close, recourse becomes difficult.
Fixtures and Included Items
Confirm all fixtures that should remain are present:
- Light fixtures throughout the home
- Ceiling fans
- Built-in appliances
- Window treatments (blinds, shades, curtains if specified)
- Shelving, mirrors, and other attached items mentioned in contract
- Garage door openers and remotes
Check that items specifically included in the sale remain:
- Washer and dryer if negotiated
- Refrigerator if included
- Storage shed or swing sets if part of the agreement
- Any other personal property the contract specified conveys
Verify nothing was inappropriately replaced with inferior items. Occasionally sellers swap out nice fixtures with cheap replacements hoping buyers won’t notice.
Exterior and Grounds
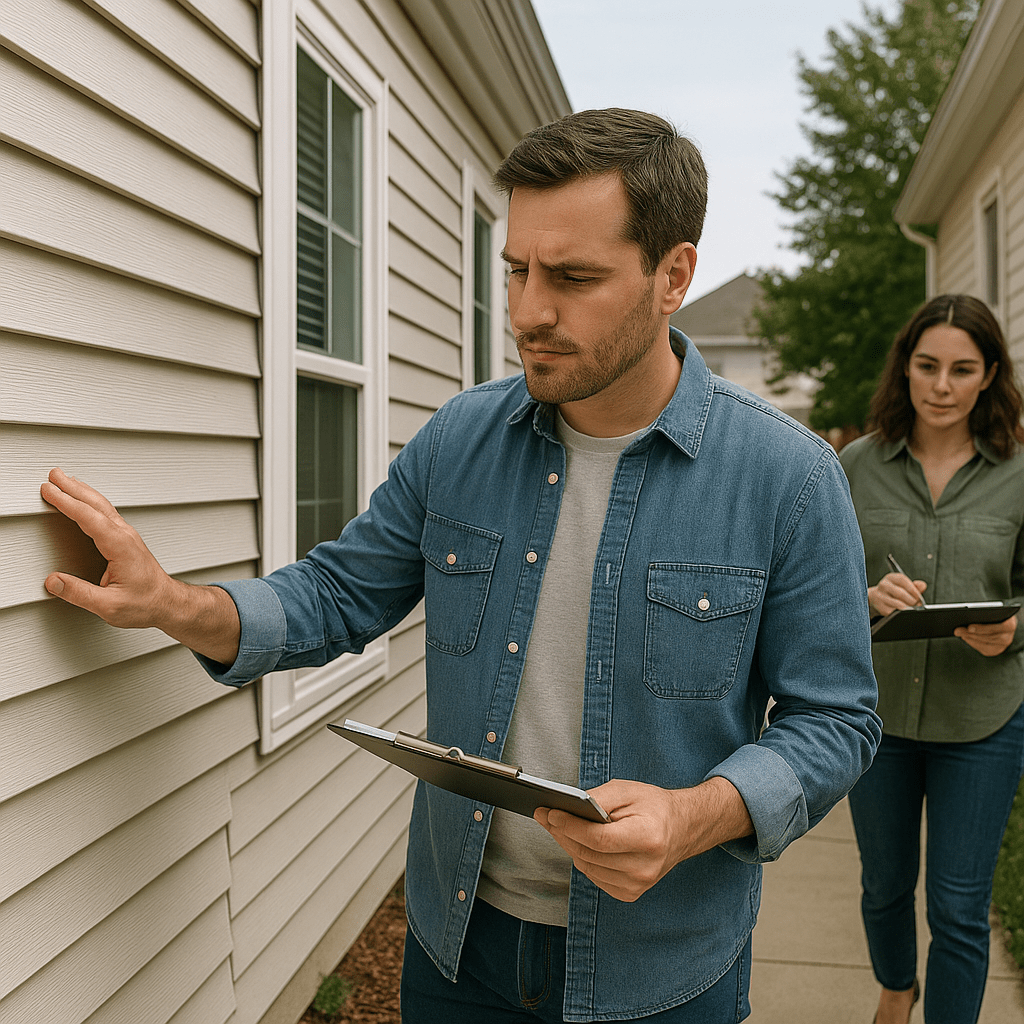
Walk the property exterior:
- Check for any new damage to siding, windows, or roof
- Verify gutters and downspouts are intact
- Confirm lawn and landscaping are in reasonable condition
- Check that fences and gates function properly
- Verify outdoor lighting works
Inspect garage and outbuildings:
- Check garage door opener operation
- Verify any included tools or items remain
- Look for any damage or missing items
Keys, Remotes, and Codes
At closing, you should receive:
- All house keys for all locks
- Garage door remotes (all that exist)
- Gate or community access devices
- Alarm system codes (and information for transferring monitoring service)
- Mailbox keys
- Storage unit keys if applicable
Verify during walkthrough that locks haven’t been changed or additional locks added that you won’t receive keys for at closing.
What Red Flags Should Stop or Delay Your Closing?
Some issues discovered during final walkthrough are serious enough to warrant delaying closing until resolved:
Major New Damage
Significant damage that wasn’t present during previous visits requires investigation and repair before closing:
- Large holes or cracks in walls, floors, or ceilings from moving or accidents
- Broken windows or doors
- Damaged appliances or systems
- Flooding or water damage
- Fire or smoke damage
Don’t close hoping you can address damage later. Once you close, it’s your problem and expense. Insist on repairs or credits before signing.
Incomplete Repairs
Repairs you negotiated weren’t completed or were done improperly:
- Items listed in repair addendum simply weren’t done
- Repairs were half-finished or clearly substandard
- Systems that were supposed to be repaired still don’t work
- Safety issues remain unaddressed
Your contract required specific repairs. The seller failed to fulfill their obligations, giving you leverage to delay closing until work is properly completed.
Missing Fixtures or Appliances
Items that should convey with the property are gone:
- Light fixtures removed and not replaced (leaving bare wires)
- Appliances specifically included in the contract are missing
- Built-in items like shelving or mirrors were removed
- Window treatments specifically included are absent
This is breach of contract. Sellers must provide what they agreed to sell. Don’t close until items are returned, replaced, or you receive appropriate credit.
Property Not Vacant When Required
Sellers haven’t moved out by the walkthrough when they were supposed to be gone:
- Personal belongings still fill the home
- Sellers or tenants are still occupying the property
- Significant amounts of trash or debris remain
Closing while sellers remain creates risks. What if they damage the property? When will they actually leave? Who pays utilities until they’re gone? Never close on an occupied property unless you have very specific legal protections (and even then it’s risky).
Evidence of Concealment
Signs that problems were hidden rather than fixed:
- Fresh paint covering stains that suggest underlying issues
- Newly installed paneling or drywall covering potential problems
- Obvious attempts to mask rather than repair issues
If something looks suspicious, investigate further. Better to delay closing and pay for additional inspection than to close on hidden problems.
What Are Your Rights and Options If Problems Arise?
Discovering issues during final walkthrough doesn’t automatically kill your deal, but it gives you leverage and options:
Delay Closing Until Repairs Completed
Most purchase contracts allow you to delay closing if sellers didn’t fulfill their repair obligations. Your agent works with the seller’s agent to schedule completion of required work before setting a new closing date.
Timelines might shift by days or weeks depending on repair extent. This is inconvenient but protects you from closing on an incomplete transaction.
Negotiate Credits or Price Reductions
If repairs are minor or you’re willing to handle them yourself, negotiate a credit at closing or reduction in purchase price covering the cost of addressing issues.
Document estimated repair costs with contractor quotes when possible, strengthening your negotiation position.
Walk Away from the Deal
If issues are severe and sellers won’t resolve them, you might have the right to terminate the contract depending on your contingencies and circumstances.
Consult with your agent and potentially an attorney before terminating contracts. Understand the implications for your earnest money and any expenses you’ve incurred.
Require Third-Party Verification
For concerns about repair quality, request licensed contractor verification that work was done properly and completely.
Your lender might require certain repairs before funding your loan, particularly for FHA or VA loans with strict property standards. Use lender requirements as leverage to ensure proper completion.
How Should You Prepare for Your Final Walkthrough?
Effective walkthroughs require preparation and strategy:
Bring the Right People and Tools
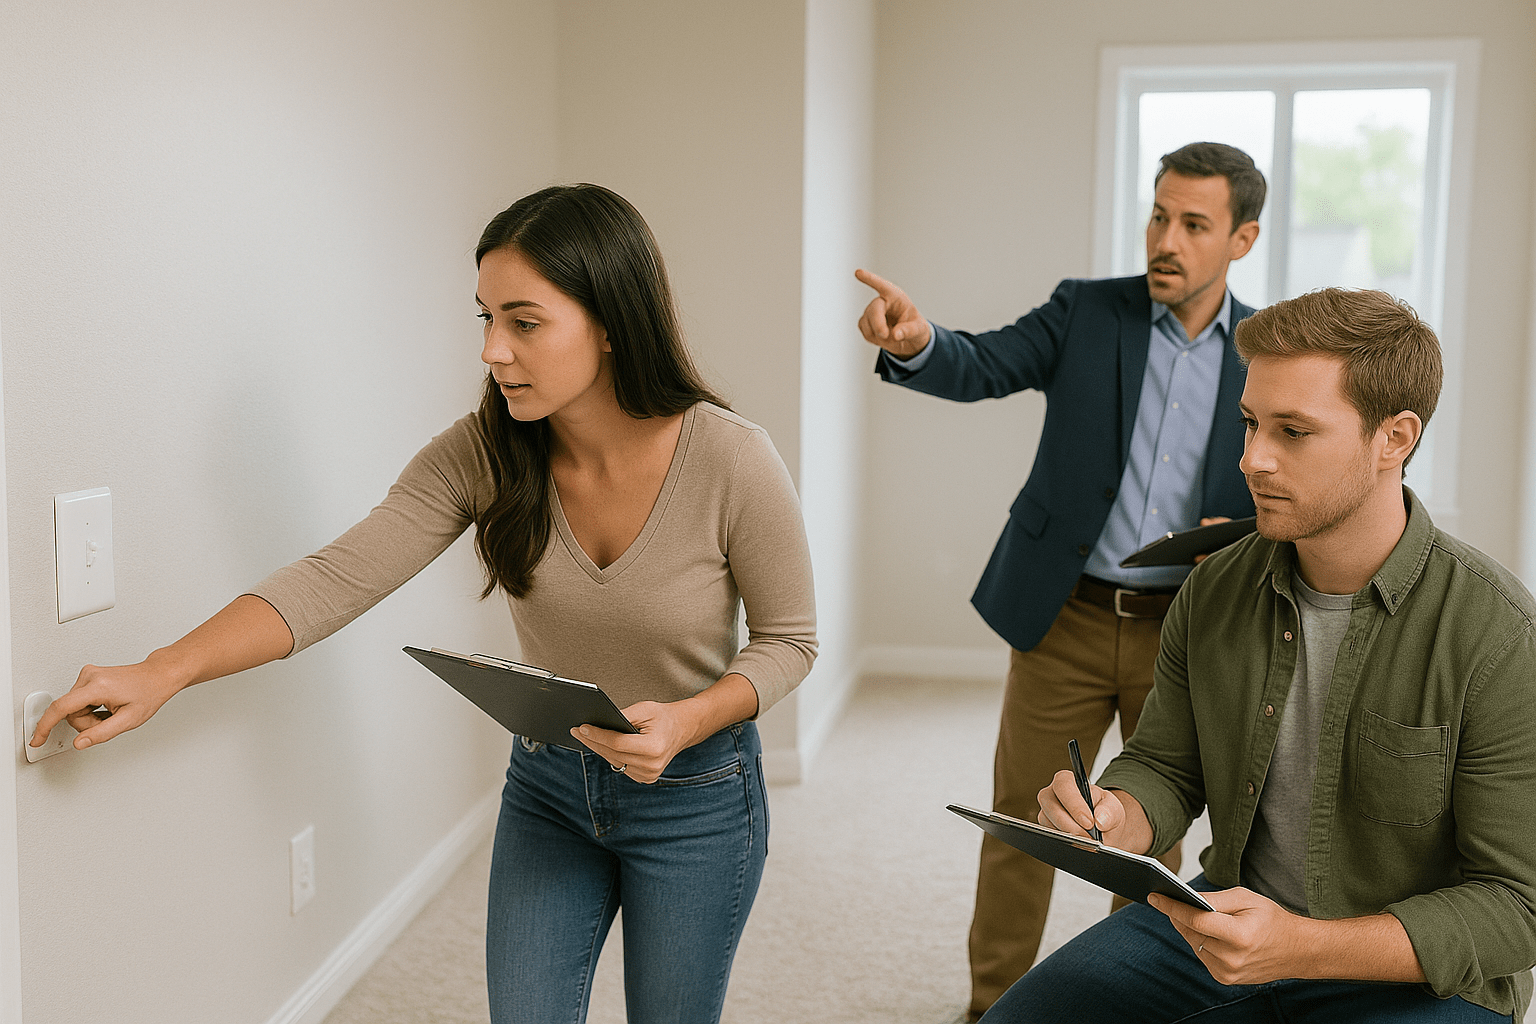
Include your real estate agent who knows what to look for and can immediately address issues with the seller’s agent.
Bring your partner or family member who will live in the home. Multiple sets of eyes catch more problems.
Consider bringing your home inspector for a re-inspection if you’re particularly concerned about certain issues or repair quality. While this costs money, it might save thousands in unexpected repairs.
Carry essential tools:
- Detailed checklist covering all areas and systems
- Flashlight for dark corners, basements, and under-sink inspections
- Outlet tester for electrical verification
- Phone or camera for documenting any issues
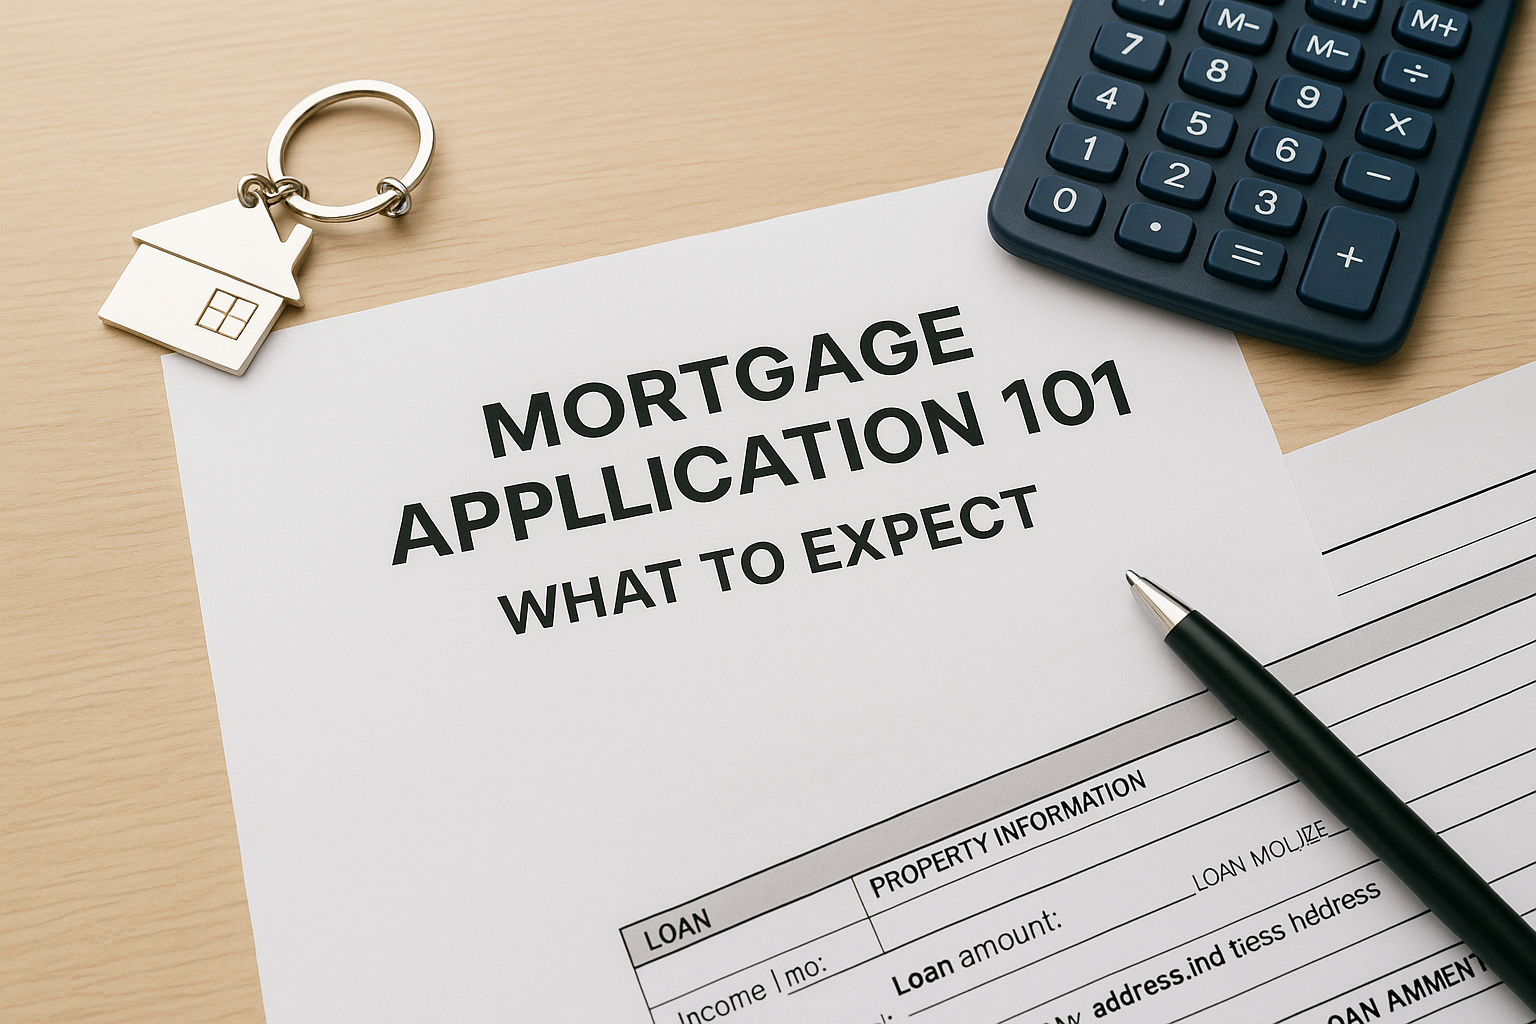
- Copy of your purchase contract and repair addendum
- Copy of your initial inspection report for comparison
Allow Sufficient Time
Don’t rush your walkthrough. Budget at least one hour for thorough inspection of average-sized homes, longer for larger properties or if you’re particularly detailed.
Arrive when lighting is good if possible. Natural daylight helps you see condition better than evening or nighttime walkthroughs.
Be Systematic and Thorough
Work room by room, floor by floor to avoid missing areas:
- Start at one end of the house and work systematically to the other
- Check every room, closet, and storage area
- Don’t skip garages, basements, attics, or outdoor structures
Test everything that moves or turns on:
- Every switch, outlet, faucet, toilet, appliance, door, window
- Don’t assume because one bathroom faucet works that they all do
Take notes and photos of anything concerning. Document condition before closing so there’s no question about when problems existed.
What Happens After Your Final Walkthrough?
If Everything Looks Good
Confirm to your agent that you’re satisfied with the property condition and ready to proceed to closing. This clearance allows the closing process to move forward without delays.
Attend closing as scheduled knowing you’ve verified the property’s condition and fulfilled your due diligence obligations.
If Issues Exist
Immediately communicate problems to your agent who will work with the seller’s agent to resolve them.
Discuss your options with your agent and loan officer. Depending on issue severity and seller cooperation, you might delay closing, negotiate credits, or in extreme cases exercise rights to terminate.
Don’t let anyone pressure you to close on a property that hasn’t been delivered as contracted. Your earnest money and financing contingencies exist to protect you.
Work toward resolution that protects your interests. Most issues can be resolved with good faith negotiation, but don’t compromise on items that significantly affect the property’s value or safety.
How Does Stairway Mortgage Help With Final Walkthrough Issues?
Final walkthroughs sometimes reveal problems affecting your loan approval or financing. At Stairway Mortgage, we help first-time buyers navigate these last-minute challenges:
We explain how discovered issues might affect your loan, particularly with FHA loans or VA loans that have strict property condition requirements.
We work with your agent and title company to coordinate closing delays if needed to allow repair completion, ensuring all parties understand timing implications.
We provide guidance on reasonable credit amounts for various issues, helping you negotiate fairly with sellers when accepting credits for buyer-completed repairs.
We stay flexible on closing timelines when legitimate issues arise, understanding that protecting your purchase is more important than meeting arbitrary deadlines.
We communicate with all parties to keep your loan approval active during any delays, ensuring that extended timelines don’t jeopardize your financing.
Many of our first-time buyer clients successfully navigated final walkthrough challenges because we remained flexible and provided expert guidance on resolving issues while protecting their interests.
Ready for Your Final Walkthrough With Confidence?
The final walkthrough is your last line of defense before closing—your opportunity to ensure you’re getting exactly what you negotiated and paid for. With proper preparation, systematic inspection, and willingness to address issues firmly but fairly, you’ll close on your home knowing you’ve protected your investment.
Your next steps:
If your final walkthrough is scheduled soon, schedule a call to discuss what to look for and how to handle any problems that might arise.
If you’re still in the earlier stages of buying, get pre-approved with a lender who will guide you through every step including final walkthrough coordination.
If you want to understand how different loan types affect property condition requirements:
Remember: The final walkthrough protects you from surprises and ensures sellers fulfill their obligations. Don’t rush it, don’t skip it, and don’t be afraid to delay closing if significant issues exist. Your home is likely your largest investment—protect it appropriately.
Frequently Asked Questions
Can I skip the final walkthrough if I trust the sellers?
No, never skip your final walkthrough regardless of how trustworthy sellers seem. This isn’t about trust—it’s about verification and protection. Even honest sellers might not realize damage occurred during moving, might have misunderstood what fixtures convey, or might have overlooked incomplete repairs. Issues arise unintentionally. Your final walkthrough protects both parties by confirming property condition and preventing disputes after closing. Additionally, your purchase contract likely requires this walkthrough, and your lender might need verification that the property remains in acceptable condition. The hour or two invested in a thorough walkthrough could save you thousands in unexpected repairs or disputes. Treat it as non-negotiable regardless of circumstances.
What if I discover problems during the final walkthrough that weren’t in my inspection report?
You have several options depending on problem severity and timing. For major new damage or significant issues that clearly developed after inspections, you have strong grounds to delay closing until repairs are completed or to negotiate credits covering repair costs. For minor issues you simply missed during initial inspections but that existed all along, your leverage is weaker—you had opportunity to discover them during your inspection period. However, you can still negotiate, particularly if issues are material. Discuss with your agent immediately upon discovery. Your contract’s terms, financing contingencies, and local market conditions all affect your negotiating power. Don’t close hoping to address problems later—once you sign documents, it’s your home and your expense. See our conventional loan case study showing how one buyer successfully navigated final walkthrough challenges.
How long should a final walkthrough take?
Plan for at least one to two hours for thorough walkthrough of average-sized homes. Larger properties require proportionally more time. Don’t rush—this is your last opportunity to catch problems before closing. If you’re particularly detailed or concerned about specific issues, allocate even more time. Factors affecting duration include property size, complexity of agreed-upon repairs needing verification, number of appliances and systems to test, and whether you’re conducting a casual walkthrough or extremely thorough inspection. Bring a detailed checklist and work systematically room by room. It’s better to take excessive time and find nothing wrong than to rush and miss significant problems. If sellers or agents pressure you to hurry, push back—this is your protection and your right.
Can sellers be present during my final walkthrough?
Sellers can be present, though it’s typically not recommended. Most agents prefer sellers not attend to avoid uncomfortable situations if issues arise requiring immediate negotiation. However, sellers being present isn’t prohibited. If sellers attend, maintain professionalism—you’re not criticizing their home, you’re verifying contract terms are met. Focus on documented issues from inspections and repairs you negotiated, not opinions about style or new complaints about known conditions. Having sellers there sometimes helps with immediate questions about systems, warranties, or home features. But if sellers become defensive or argumentative about legitimate concerns, ask them to step aside while you complete your walkthrough professionally with agents present.
What should I do if the seller won’t let me do a final walkthrough?
Refusing a final walkthrough is highly unusual and extremely concerning. Your purchase contract almost certainly includes provisions for pre-closing walkthrough. If sellers refuse, this is a major red flag suggesting they might be hiding problems or haven’t completed required repairs. Immediately consult with your real estate agent and potentially an attorney. Options include: demanding the walkthrough per contract terms, postponing closing until walkthrough is allowed, or potentially terminating the contract if sellers refuse to honor its terms. Never, ever close without conducting your final walkthrough—you’re blind to what condition the property is actually in. Your lender will likely also require final walkthrough verification, particularly for FHA or VA loans with strict property standards.
Should I bring my home inspector back for the final walkthrough?
Bringing your inspector back is optional but sometimes worthwhile, particularly if you have specific concerns about repair quality, suspect new problems developed, or want expert verification of major systems. This costs additional money (inspectors charge for return visits), so weigh cost versus benefit. Most buyers conduct final walkthroughs with just their agent, which is usually sufficient if you’re thorough and systematic. However, if significant repairs were made to major systems (HVAC, plumbing, electrical, roof, foundation), having your inspector verify the work was done properly provides valuable protection. If you’re particularly nervous or inexperienced, paying for inspector re-examination might provide peace of mind worth the cost. Discuss with your agent whether they feel re-inspection is warranted based on your specific situation.
Also Helpful for First-Time Home Buyers
Understanding the Complete Closing Process:
Learn about final steps before homeownership:
- How the closing disclosure works and what to verify
- What to bring on closing day
- Understanding title transfer and recording
- Your immediate responsibilities after closing
Loan Programs and Property Conditions:
Different loans have different standards:
- Review FHA loan property requirements that are strict
- Explore conventional loan flexibility with fewer restrictions
- Check VA loan property standards for military buyers
- Consider USDA loan requirements for rural properties
Real Examples of Successful Purchases:
Learn from others’ experiences:
- FHA loan case study with smooth closing
- Conventional loan success story
- First-time buyer journey from start to finish
What’s Next in Your Journey?
Completing your final walkthrough successfully brings you to the threshold of homeownership. Just one more step remains—closing day itself—before you receive keys and begin your new chapter.
Topics to understand next:
- What happens on closing day step by step
- How to understand your closing disclosure
- First responsibilities as a new homeowner
- Protecting and maintaining your investment
- Beginning to build equity and wealth
Each element builds on previous knowledge, transforming you from uncertain buyer into confident homeowner ready to thrive.
Explore Your Complete Options
Loan Programs for Your Purchase:
- Browse all loan programs with different standards
- Explore first-time buyer options with support
- Review flexible programs
Tools for Purchase Planning:
- Access all calculators for financial planning
- Use purchase calculators with accurate costs
- Try affordability tools
Success Stories for Guidance:
Final walkthrough coming up? Schedule a call to discuss what to check and prepare for.